
File Upload System
What is a File Upload System?
A File Upload System is a web application where users can register, log in, upload documents/files, view their uploaded files, download files, and delete files.
The actual files can be stored in Cloudinary, while MongoDB stores information about those files.
For example, a user uploads:
A.N.Trisha.pdf
Resume.docx
Marks.xlsx
Presentation.pptx
Photo.png
The application stores the actual files in Cloudinary and stores details such as file name, type, size, URL, owner, and Cloudinary ID in MongoDB.
Open Doors to New Career Opportunities
⬇️
Real-Life Use Case
Imagine a College Student Document Management System.
Student
A student logs in and uploads:
Resume.pdf
Marksheets.pdf
Project_Report.docx
Presentation.pptx
Profile.png
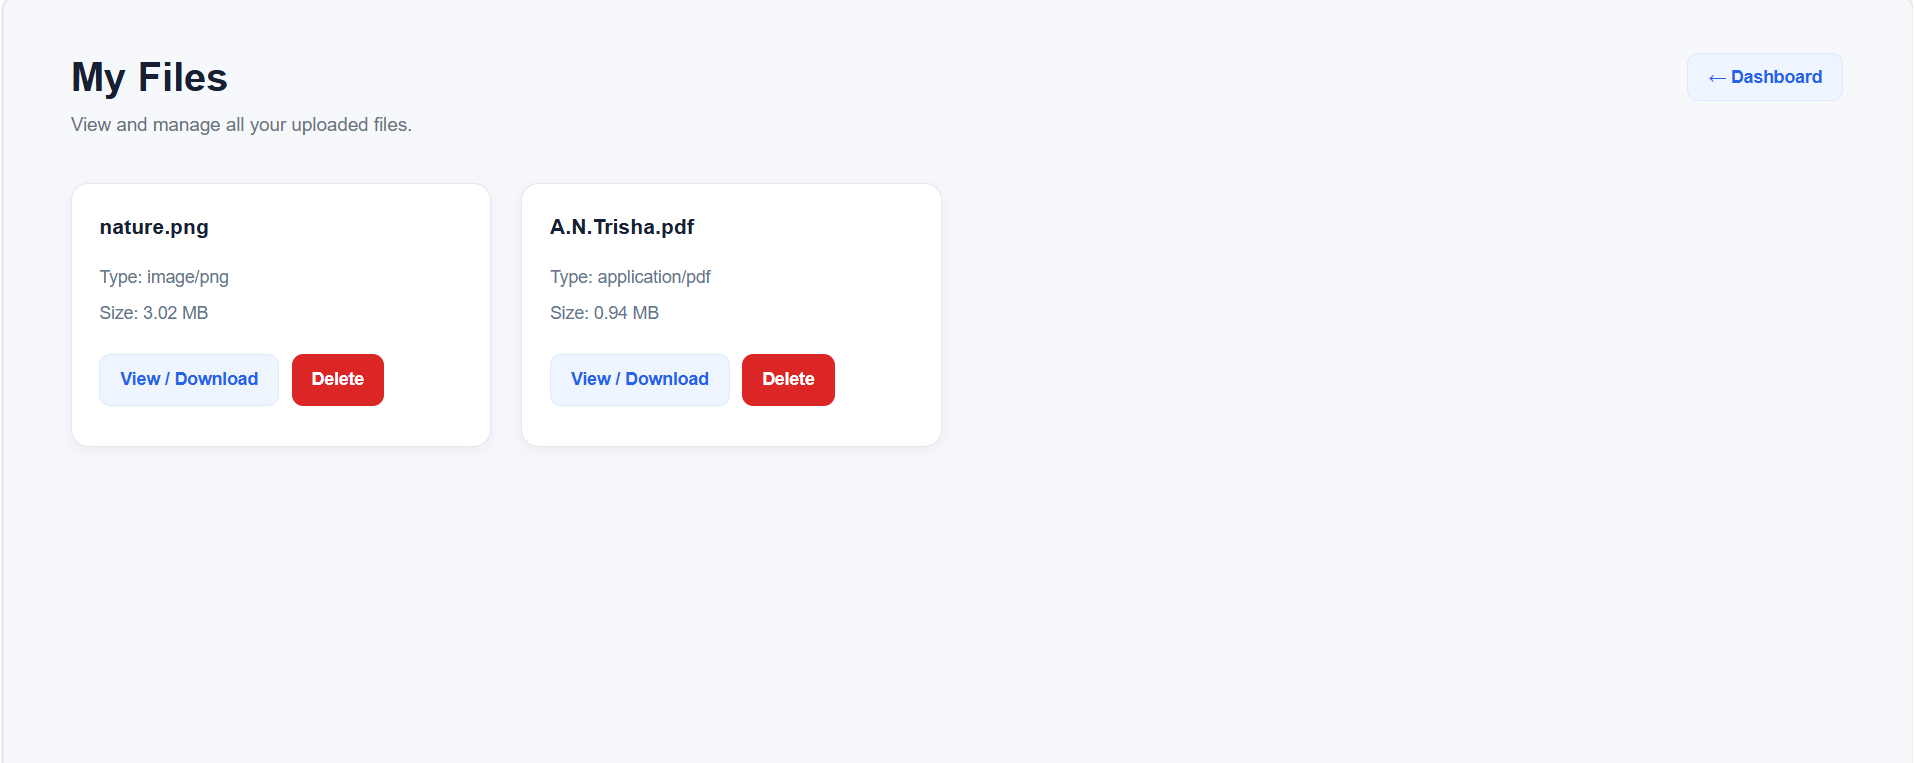
After uploading, the student goes to My Files.
They can see:
My Files

┌──────────────────────────────┐
│ Resume.pdf                   │
│ Type: application/pdf        │
│ Size: 960 KB                 │
│                              │
│ [ View / Download ] [Delete] │
└──────────────────────────────┘

┌──────────────────────────────┐
│ Project_Report.docx          │
│ Type: Word Document          │
│ Size: 1.2 MB                 │
│                              │
│ [ Download ]       [Delete]  │
└──────────────────────────────┘
This is the basic real-world use case.
Main Users
For the basic version, you can have:
👤 User
The user can:
- Register
- Login
- Logout
- Upload files
- View uploaded files
- Download files
- Delete own files
👨💼 Admin
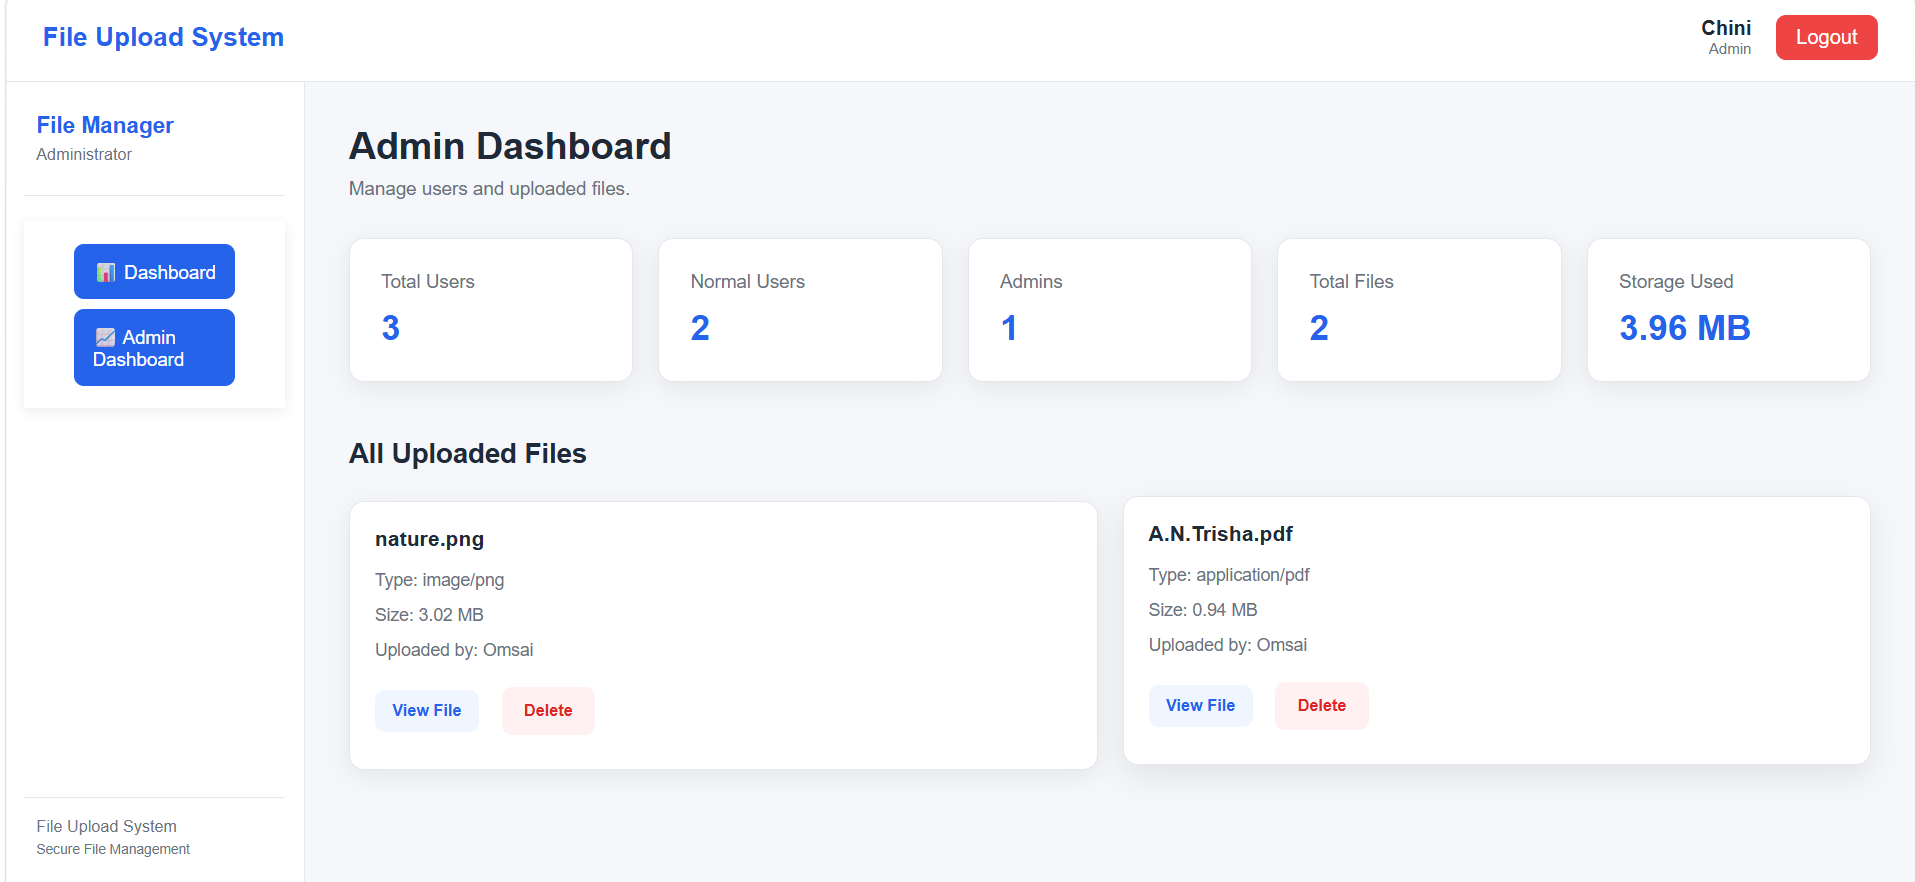
Later, you can add an admin who can:
- View all users
- View all uploaded files
- Delete inappropriate files
- See total users
- See total files
- See storage usage
For your first version, I recommend building the User system first.
Complete Application Flow
The overall flow is:
                    FILE UPLOAD SYSTEM
                           │
             ┌─────────────┴─────────────┐
             ↓                           ↓
          Register                     Login
             │                           │
             └─────────────┬─────────────┘
                           ↓
                       Dashboard
                           │
                ┌──────────┴──────────┐
                ↓                     ↓
           Upload File             My Files
                │                     │
                ↓                     ↓
             Multer              Get Files
                │                     │
                ↓                     ↓
           Cloudinary             File Cards
                │                  /        \
                ↓                 ↓          ↓
             MongoDB             View      Delete
Technologies Used
Your MERN application can use:
| Technology | Purpose |
|---|---|
| React | Frontend |
| Vite | React project setup |
| Node.js | Backend runtime |
| Express.js | Backend API |
| MongoDB | Database |
| Mongoose | MongoDB connection/models |
| JWT | Login authentication |
| bcryptjs | Password hashing |
| Multer | Receiving uploaded files |
| Cloudinary | Storing actual files |
| Axios | Frontend → Backend API calls |
Why Do We Need Cloudinary?
Suppose a user uploads:
Resume.pdfYou don't want to store the actual PDF directly inside MongoDB.
Instead:
Resume.pdf
     ↓
Cloudinary
     ↓
Cloudinary URL
     ↓
MongoDB
MongoDB stores something like:
originalName: "Resume.pdf"

fileType: "application/pdf"

fileSize: 960000

fileUrl: "Cloudinary URL"

publicId: "file_upload_system/xxxxx"

uploadedBy: "User ID"
So:
Cloudinary
Stores the actual file.
MongoDB
Stores the information about the file.
Why Do We Need Multer?
The browser sends the selected file to your Express backend.
Express itself doesn't automatically handle uploaded files conveniently.
That's where Multer comes in.
Flow:
React
  ↓
Select Resume.pdf
  ↓
Axios
  ↓
Express
  ↓
Multer
  ↓
Temporary file
  ↓
Cloudinary
Multer receives the file and temporarily stores it before sending it to Cloudinary.
Pages You Need
Your backend can be:
backend/
│
├── config/
│   ├── db.js
│   └── cloudinary.js
│
├── controllers/
│   ├── authController.js
│   └── fileController.js
│
├── middleware/
│   ├── authMiddleware.js
│   └── uploadMiddleware.js
│
├── models/
│   ├── User.js
│   └── File.js
│
├── routes/
│   ├── authRoutes.js
│   └── fileRoutes.js
│
├── uploads/
│
├── .env
├── server.js
└── package.json
Your frontend can have:
src/
│
├── components/
│   └── FileCard.jsx
│
├── context/
│   └── AuthContext.jsx
│
├── pages/
│   ├── Login.jsx
│   ├── Register.jsx
│   ├── UserDashboard.jsx
│   ├── UploadFile.jsx
│   └── MyFiles.jsx
│
├── services/
│   └── api.js
│
└── styles/
    ├── login.css
    ├── register.css
    ├── dashboard.css
    ├── uploadFile.css
    └── myFiles.css
Final Use Case
Your completed application will work like this:
                    USER
                      │
             ┌────────┴────────┐
             ↓                 ↓
          Register           Login
                               │
                               ↓
                         User Dashboard
                               │
                    ┌──────────┴─────────┐
                    ↓                    ↓
              Upload File             My Files
                    │                    │
                    ↓                    ↓
                 Multer              File List
                    │                 /      \
                    ↓                ↓        ↓
               Cloudinary          View     Delete
                    │                         │
                    ↓                         ↓
                File URL                Cloudinary
                    │                         │
                    ↓                         ↓
                MongoDB                   MongoDB
Recommended Development Order
Don't build everything at once. Build in this order:
1. Create MERN project
        ↓
2. MongoDB connection
        ↓
3. User Register
        ↓
4. User Login
        ↓
5. JWT authentication
        ↓
6. User Dashboard
        ↓
7. Install/configure Multer
        ↓
8. Configure Cloudinary
        ↓
9. Create File Model
        ↓
10. Upload File API
        ↓
11. UploadFile.jsx
        ↓
12. My Files API
        ↓
13. MyFiles.jsx
        ↓
14. FileCard.jsx
        ↓
15. View / Download
        ↓
16. Delete File
        ↓
17. CSS/UI
        ↓
18. Test PDF
        ↓
19. Test DOCX
        ↓
20. Test XLSX
        ↓
21. Test images
        ↓
22. Error handling
Most important concept
Remember these 4 things:
Multer → receives the file temporarily.
Cloudinary → stores the actual file.
MongoDB → stores file information.
React → displays and manages the files for the user.
So the core architecture is:
React → Express → Multer → Cloudinary → MongoDB → React
That is the basic architecture you should follow for your File Upload System.
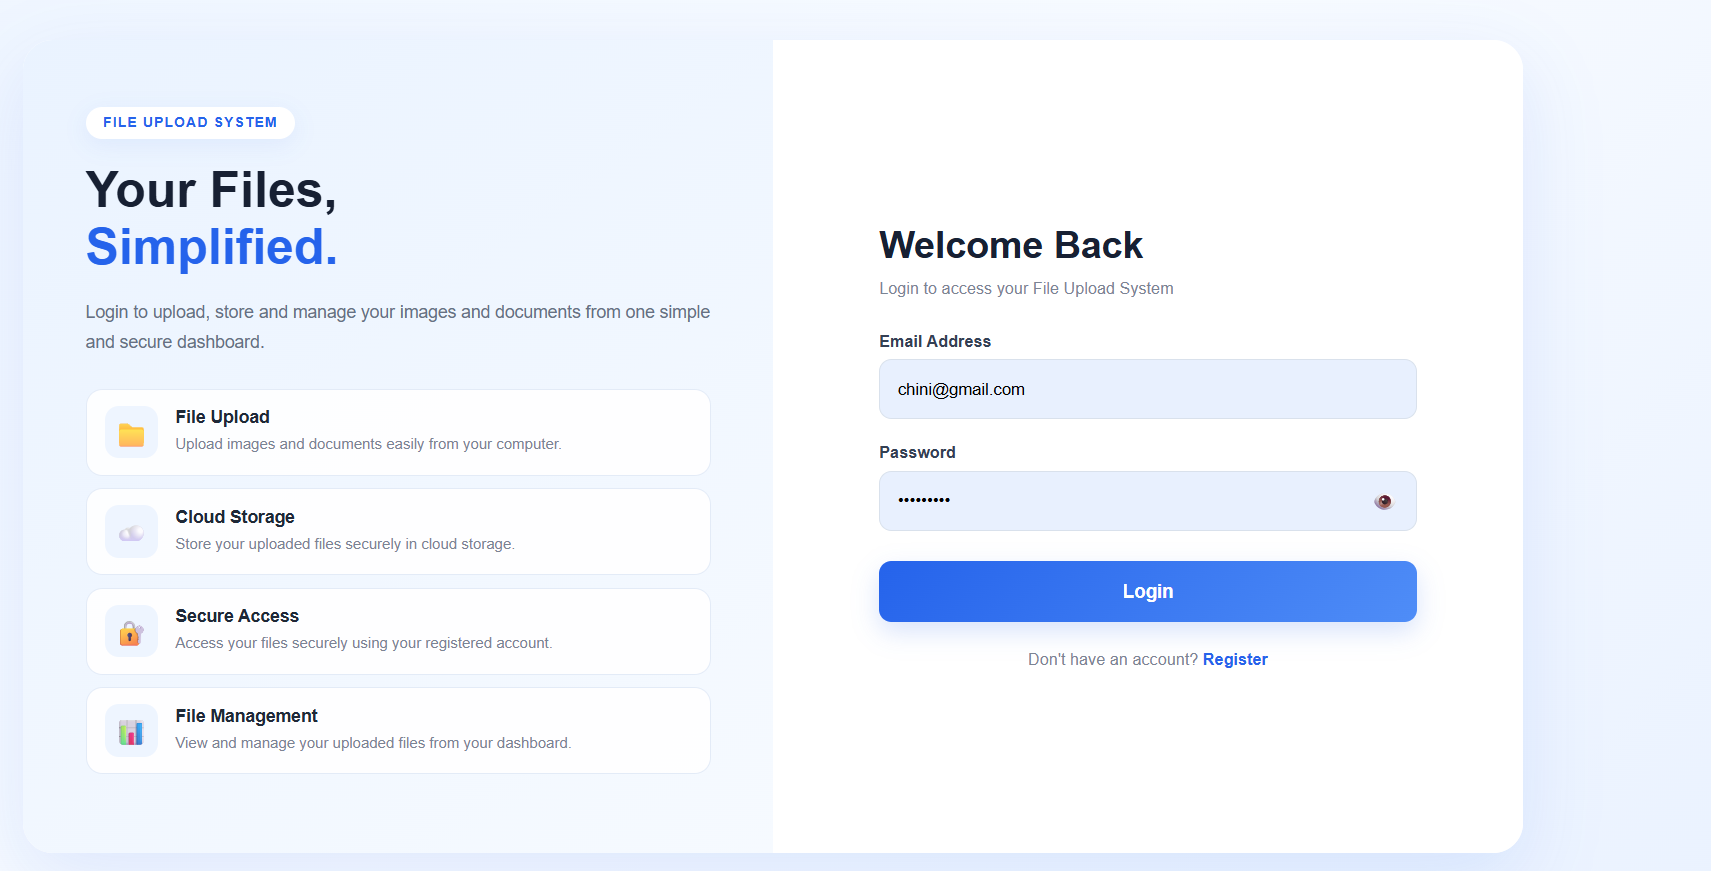
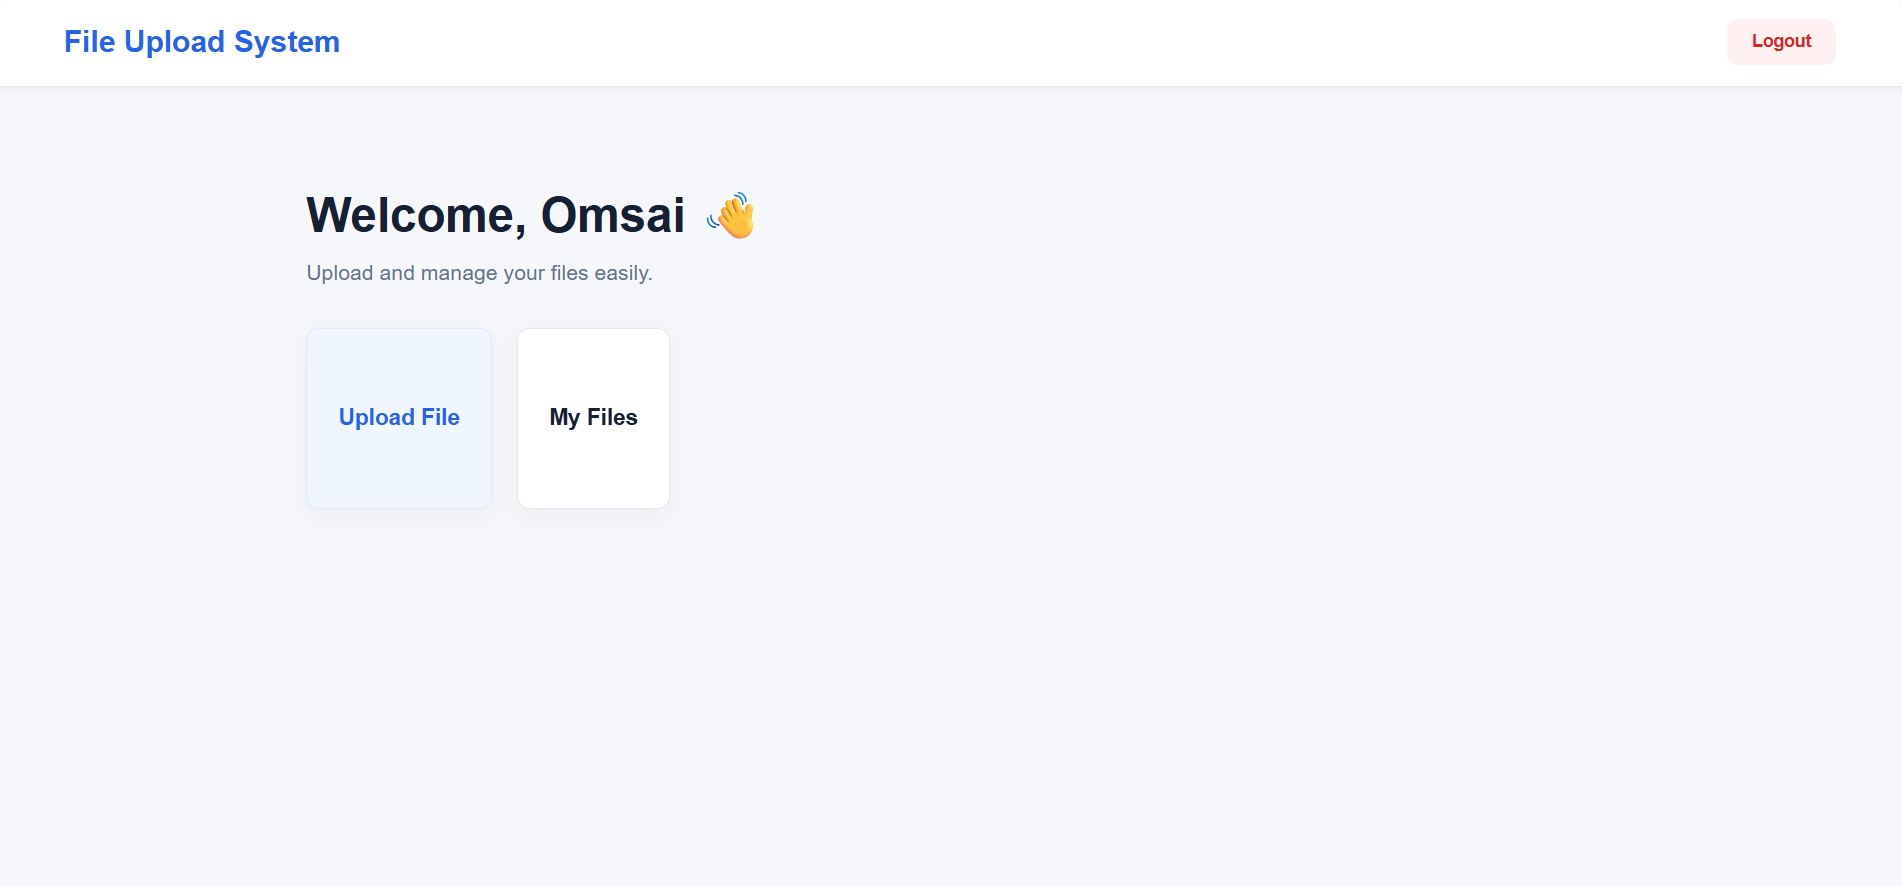
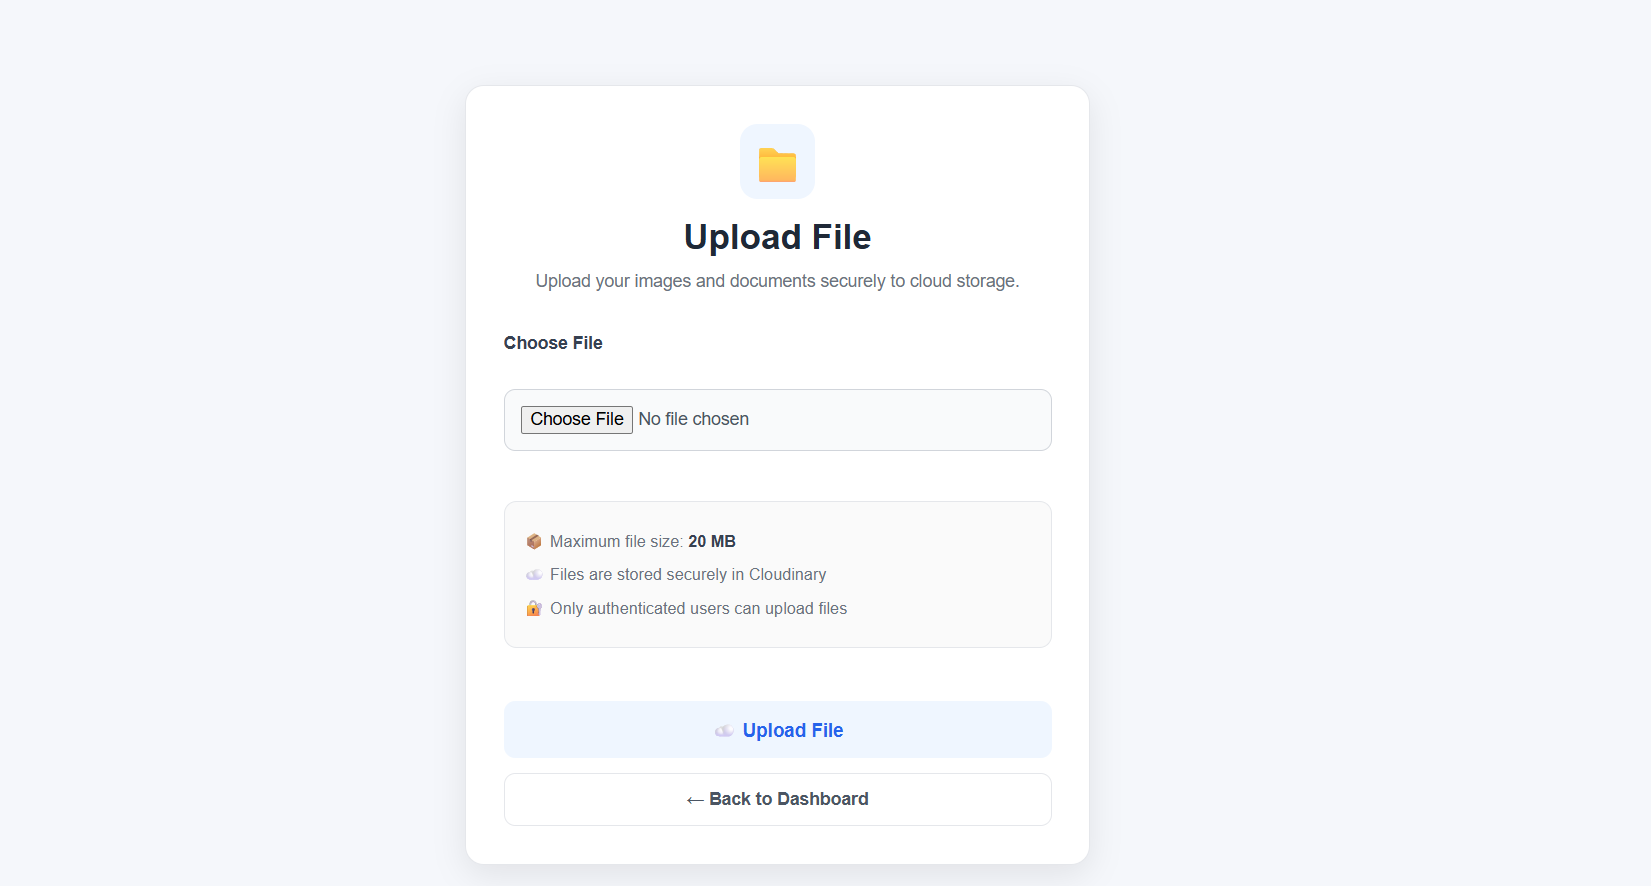
Output Screens: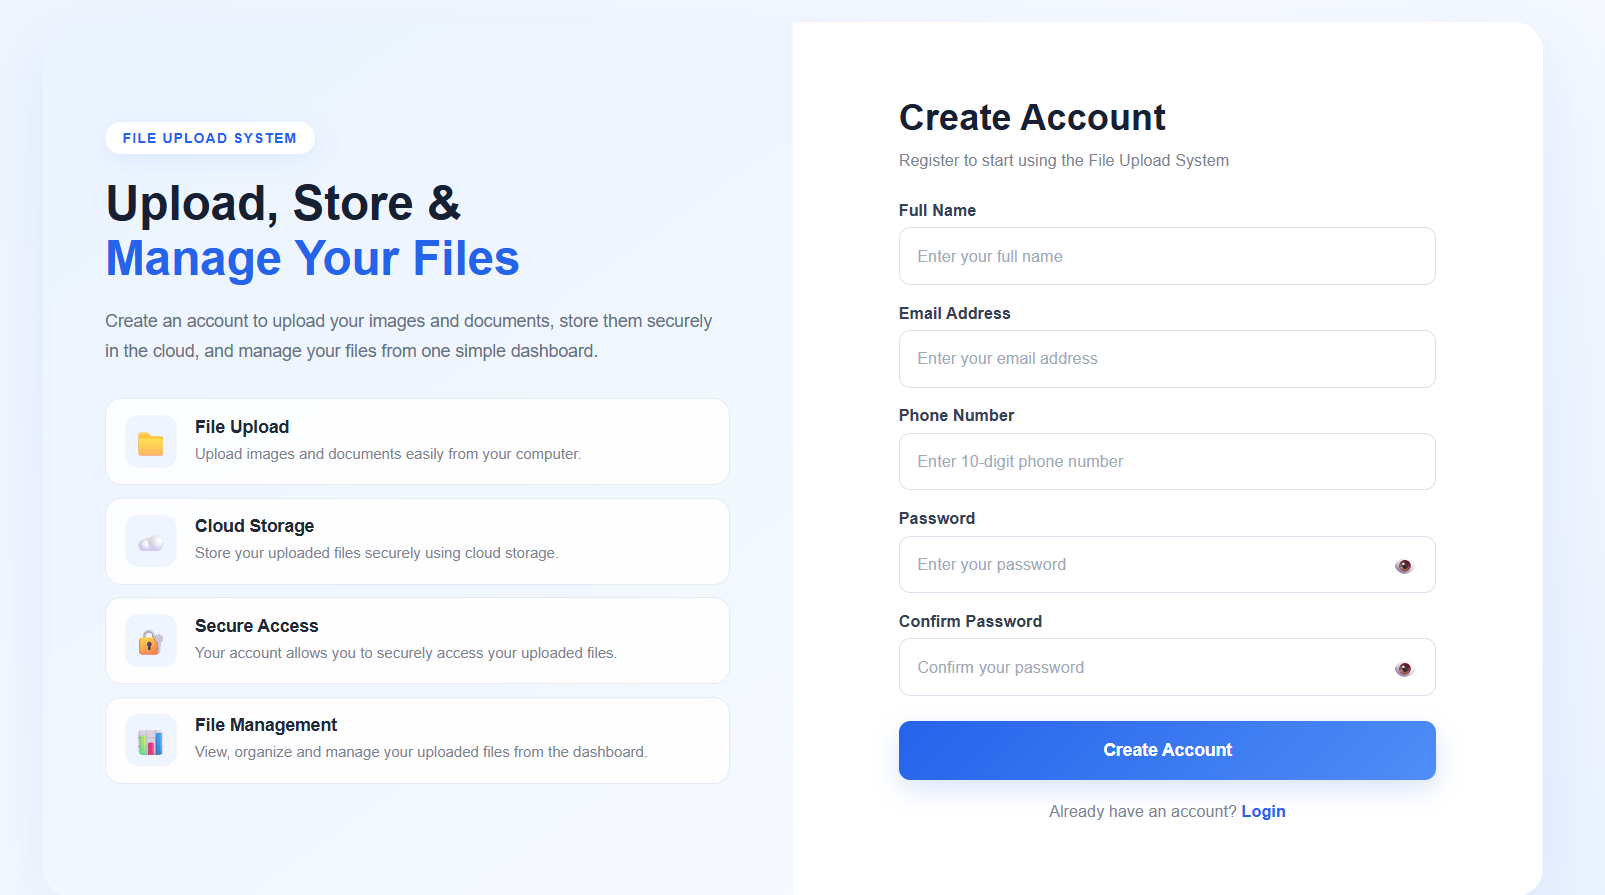
Open Doors to New Career Opportunities
⬇️
Summary
A File Upload System is a web application that allows users to register, log in, upload, view, download, and delete files. Users can upload documents such as PDF, Word, Excel, PowerPoint, TXT, and CSV files, along with images if required.
The application uses Multer to receive the uploaded file, Cloudinary to store the actual file, and MongoDB to store the file details such as file name, type, size, URL, Cloudinary public ID, and uploaded user. JWT authentication ensures that each user can access and manage only their own files.
Simple Flow
User → React → Express → Multer → Cloudinary → MongoDB → My Files
Main Features
- Register & Login
- JWT Authentication
- Upload Documents
- View / Download Files
- My Files
- Delete Files
- User-specific File Access
- Cloudinary Cloud Storage
- MongoDB File Information Storage
- Responsive and Clean UI